| Working with MS Paint to add a message to your home page banner image | |
| There are many tools you can use to edit images, but Paint is the simplest app you can use and it is the most common app on most PCs. There are 7 steps that you need to do to modify your home page image.
(Note : You can double click on any image in make it bigger) |
|
1. Decide on which image you want to edit. Keep in mind the layout of your homepage. If you have the Home Banking image on the right side, you should not let you message appear in that area of the image will block some of your words.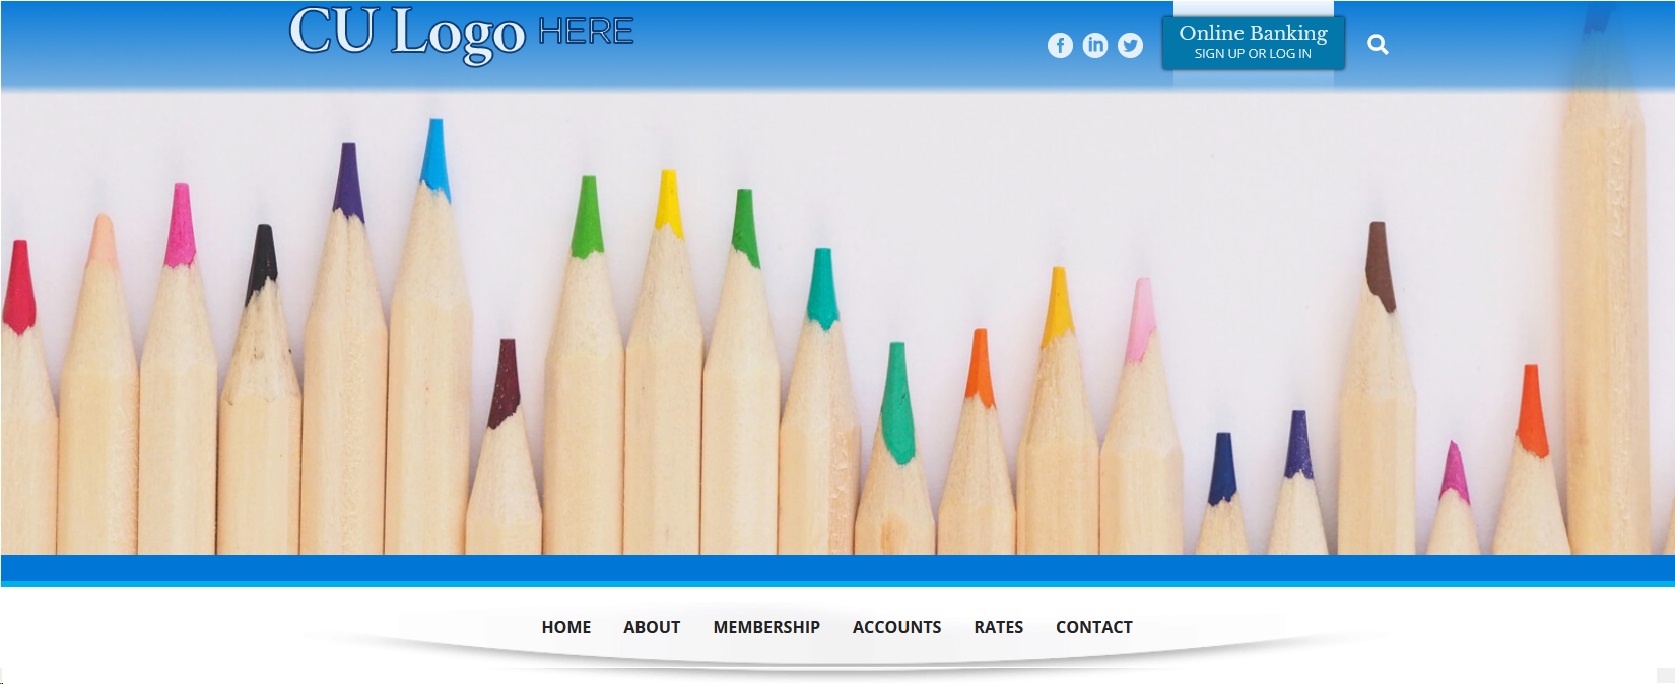 |
|
| 2. Download the image you want to change. | |
| In the Administrator Panel, go to Media, Banners Images.(These images are all 1600 by 560 pixels, which is the right size for your banners)
|
 |
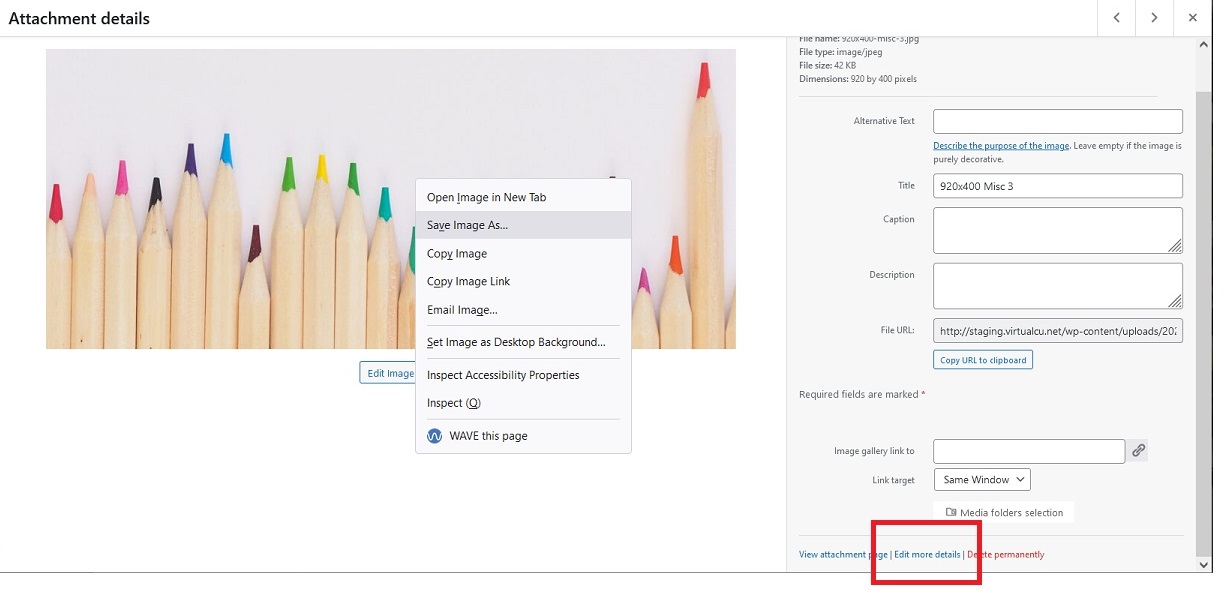
| Select the image, If you right click the image, you can “Save Image As” to download it. However, you will have to resize it to 1600 by 560 pixels in paint before you can use it. (See https://help.virtualcu.net/?p=234 to resize). | 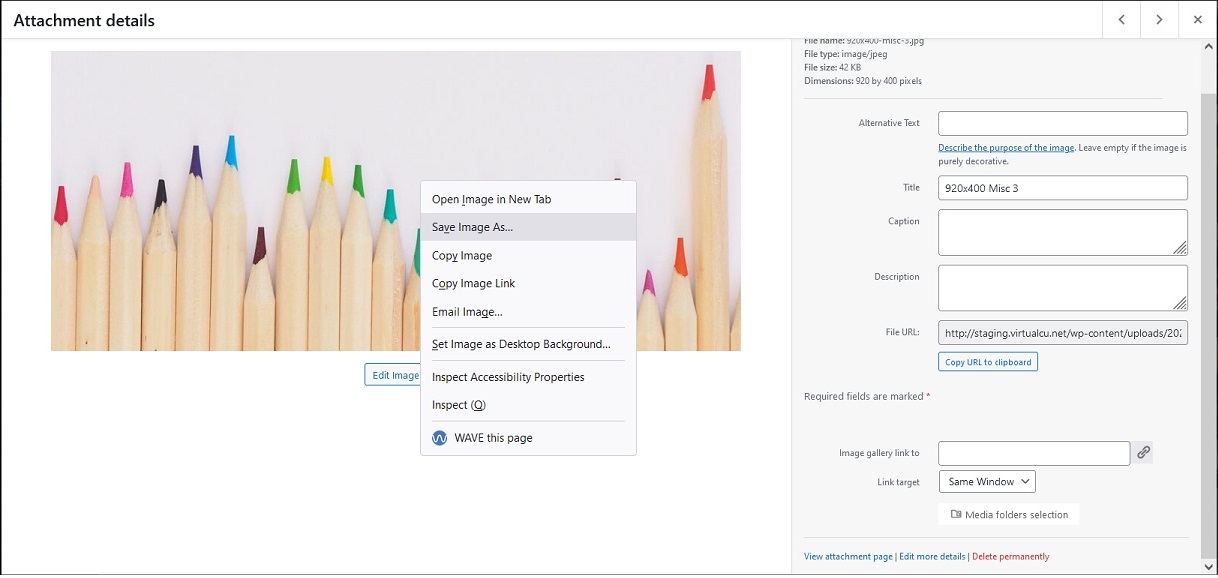 |
| Or, if you do this one extra step, the image will stay at 1600 by 560 pixels in paint.
After you select the image, click on the link in the bottom right corner that says “Edit more details”. Now when you right click the image and select “Save Image As” to download it, the image size will stay at 1600 by 560 pixels in paint. |
 |
| 3. Open the image in Paint | |
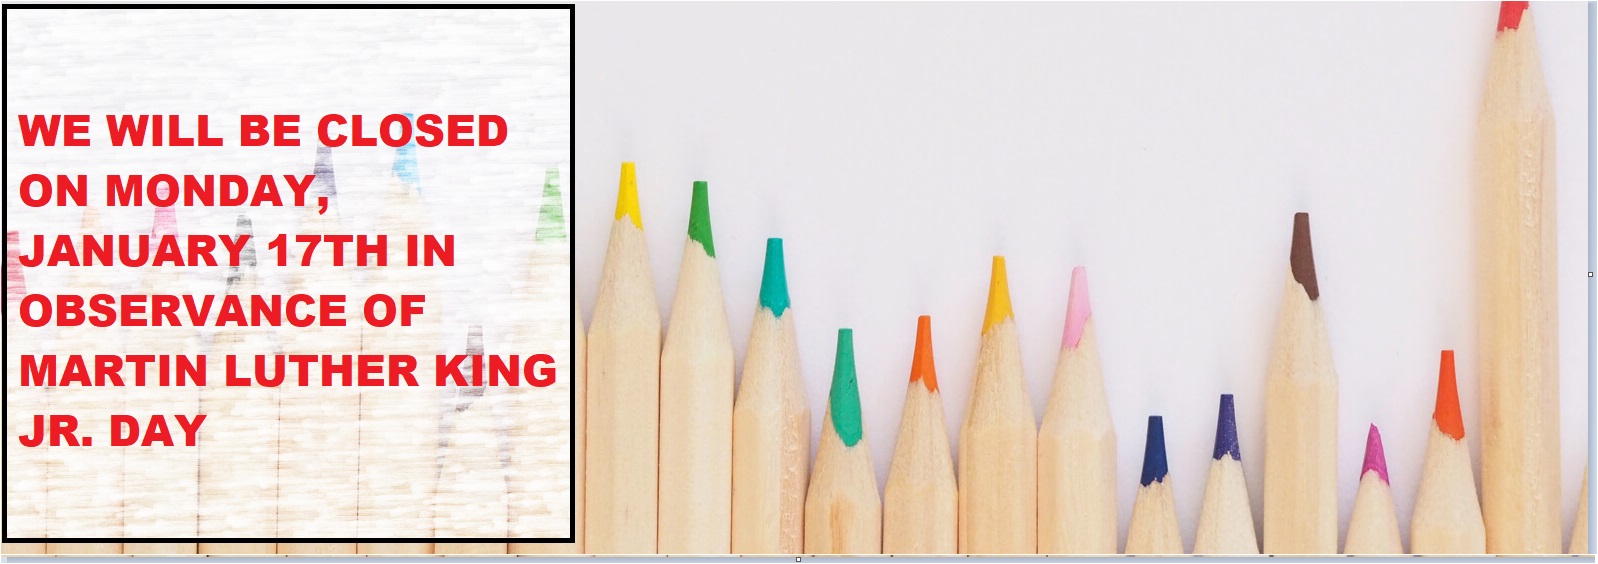
| First you want to create a box on the image for your message. | 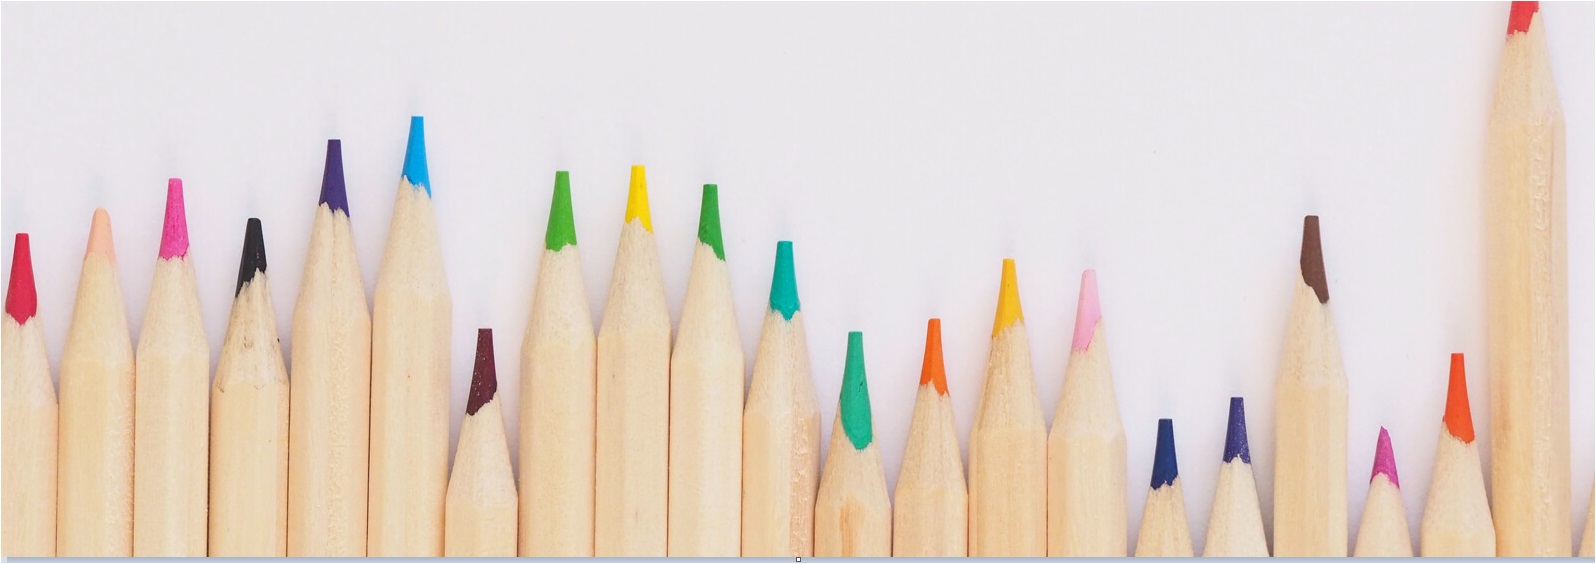 |
| Then pick your shape so you can draw it where you want your words to be on your image | 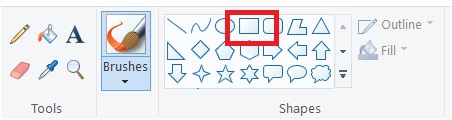 |
| In the menu, pick Fill, then Watercolor.
This will wash out the image in the background so that you can see the text easier. |
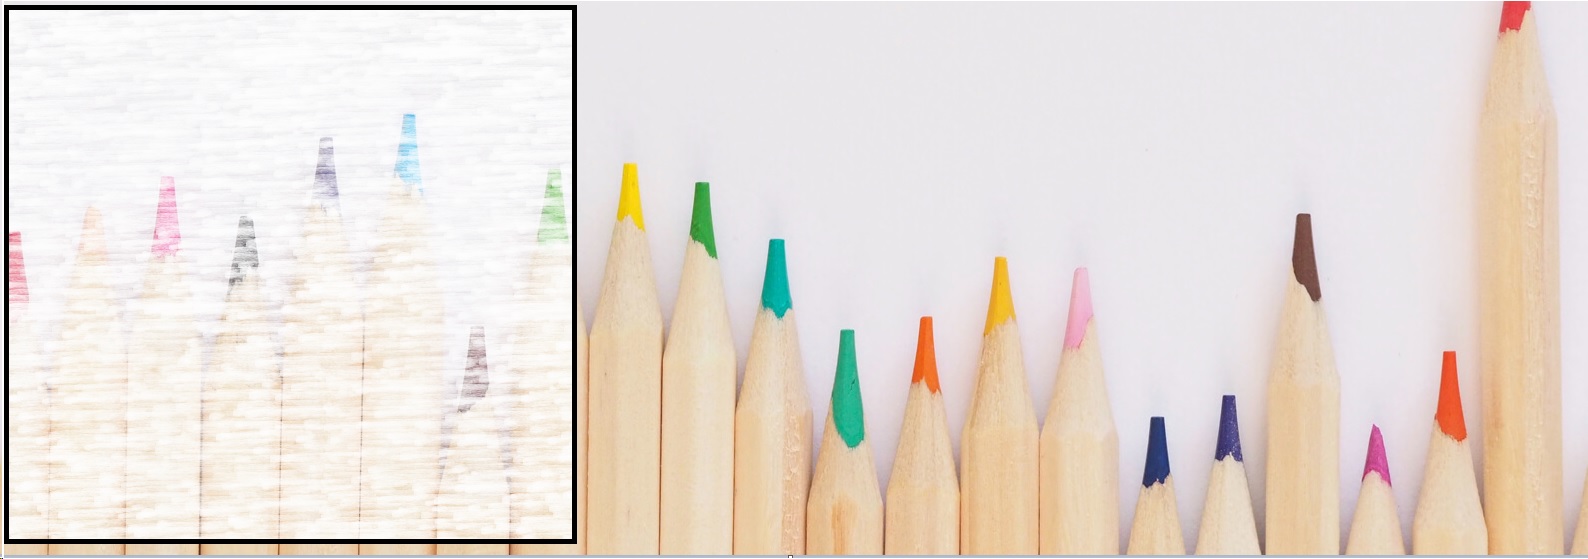 |
| In the menu, pick Text and place the cursor in the box you just selected. Type your message. | 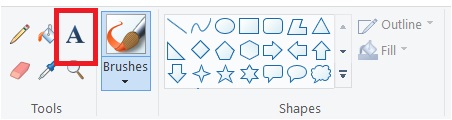
|
| 4. Save your work. Note that the file name is just a temporary name. You can either save it here and rename it in explorer, of you can do a “save as” here and rename it.
|
|
| 5. Now upload this new image into the Media Library. | |
| In the Administrator Panel, go to Media, “Gallery Upload” Images, and click the “Add New” button at the top. (Either select the new image or drag and drop the new image into this section) |  |
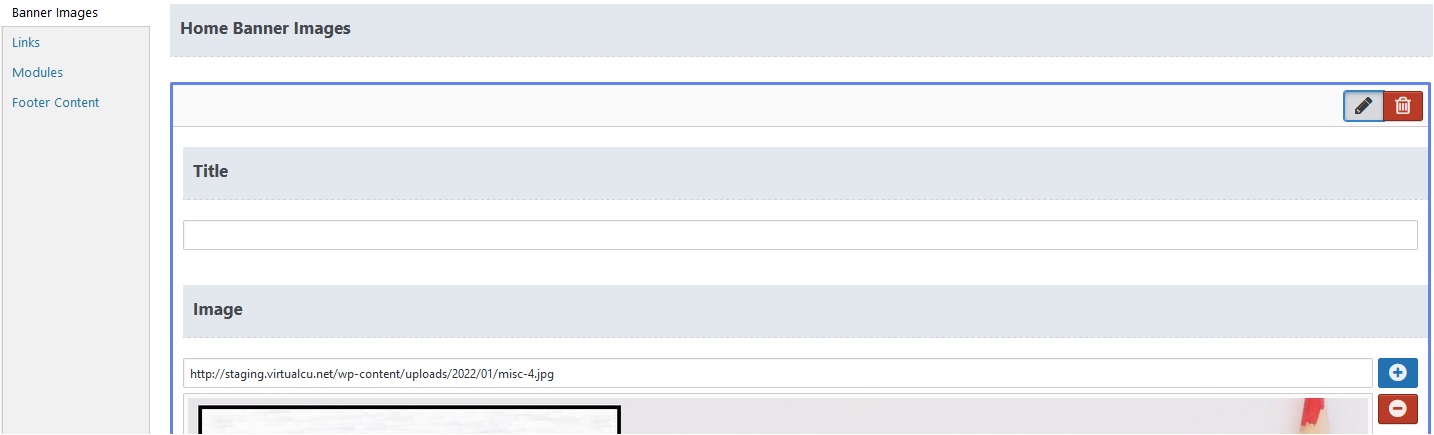
| 6. Now set the image as your 1st banner. | |
| In the Administrator Panel, go to Appearance, Theme Content, Banner Images, Add New Button.
Enter a title then Hit the Blue Plus Button and select the image you just created. |
 |
| 7. Consider slowing down the timing for each image.
The default setting is 7 seconds per image. Make sure the 1st image is up long enough for a person to read your entire message. In the Administrator Panel, go to Appearance, Theme Content, Banner Images. Change the slider at the bottom (Image Pause (seconds)) to the time it will take to read your message |
|
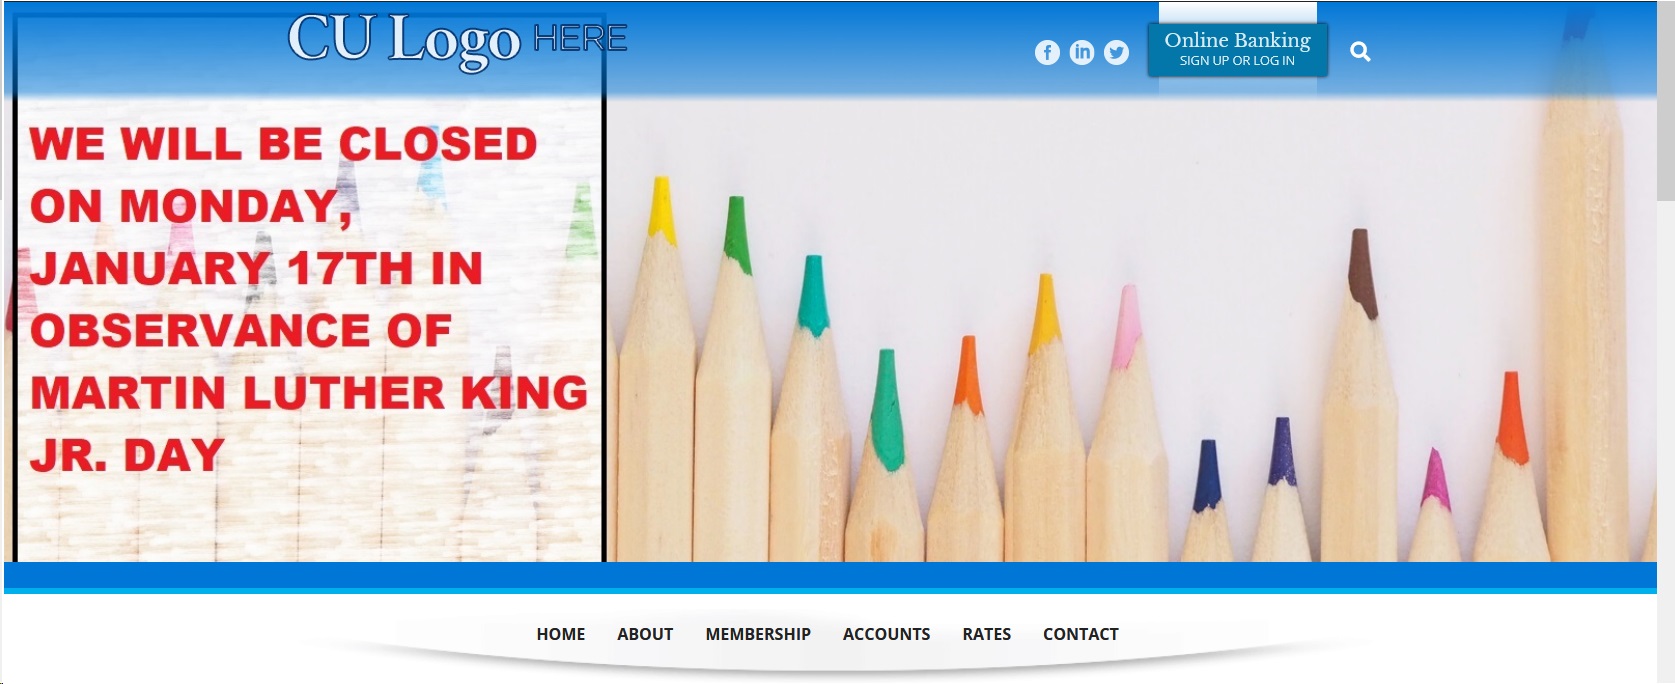
| Finished Product
|
|